


CUPID’S WINGS

Valentine’s Day is a pretty special cookie holiday here. It’s a big part of why “Blyss Cookies” ever became a thing. Every Valentine’s Day, Momma Blyss would make a giant heart shaped sugar cookie for each of the kids. They were decorated with delicious pink buttercream and covered with plenty of red hots!
(We know… sounds weird BUT you can’t knock it until you try it)
Each cookie was a custom creation and she even wrote our names in icing across our cookie in fancy lettering. They were so beautiful! She’s a pretty smart lady (did we mention she taught Kindergarten all of her life?) She knows all the games. Writing our names on the cookies not only made them special but it was a clear way of marking who’s was who’s.
BECAUSE… let’s just say we grew up with three VERY wicked brothers and there were some fights. Don’t worry, we’re all good friends now and the boys feel truly awful about the way they treated us…HAHA! Although, if we’re being honest, we all still get a little crazy when mom makes cookies.
As we got a little older, cookie decorating became a family thing and we all got to help. She taught us how to bake and help decorate the cookies - and the rest is history.
Some years we have to beg… AND BEG, but she still makes a cookie for each one of us AND for all of her grandchildren.
(And just in case you’re reading this, mom, we’ll have ours with extra red hots, NO gummy stuff and light on the sprinkles)
We wont tell you how many times we’ve bribed and/or blackmailed our kids for their cookies - and if you’re good with numbers, that COULD mean we’ve each managed to eat 5 of 6 of these giant cookies.. all in one day.
We want to share our Valentine cookie decorating tradition with YOU this year so here’s an easy spin on an old tutorial. We originally designed these wings for a “Christmas in July” cookie collaboration but we have a few design twists with the same cutter and stencil planned for you. Change up the colors and embellishments and just like that - you have Cupid’s wings!
Supplies
Blyss angel wing CUTTER
Blyss angel wing STENCIL
Blyss toothpick rose STENCIL
an icing scraper (like THIS)
1.5 PME tip - for outlining your cookies
Wilton 101s to make your toothpick roses
a stencil holder like THIS (or you can use a STENCIL SNAP, STENCIL GENIE, or even just two NOTTA COOKIES)
WAFER PAPER leaves. We found ours HERE
airbrush colors - Americolor
warm brown
maroon
FLASH DUST in white
needle tip applicator BOTTLE (filled with EDIBLE GLUE or corn syrup)
tweezers
toothpicks or coffee stir sticks (for larger roses)

Blyss angel wing cutter and coordinating stencil
Blyss toothpick rose stencil
Once your cookies are baked and cooled, you’re ready to decorate!
Start by outlining and filling your cookies with your cream piping and flood. We like to dry our cookies in front of a heater fan like THIS. It speeds up drying time so you can move on with decorating and it also gives the cookies a smooth glassy finish. You only need to leave them in front of the fan for about 15-20 minutes (could be longer depending on weather and climate).

While you’re waiting for your cookies to dry, you can start making your toothpick roses with your raspberry colored piping.
We’ve got a great step by step tutorial for them HERE
Once you’ve filled your stencil with roses, place the stencil in front of the fan to speed the drying process.

STEP 1
After your cookies have had a chance to dry and the surface of the icing is crusted over, you can airbrush the edges with warm brown airbrush color to create a vintage or distressed look. The darker color around the edges also helps create the visual of an outline and brings out the details in the design a little more.
Need help with airbrushing?
STEP 2
Your frosting should be dry on the surface but will still be wet underneath so handle those cookies with care!. Use your stencil holder or your Notta Cookies to secure the stencil and center it on your cookie. Carefully apply some of your white piping icing across the top of the stencil. Use your icing scraper to smear a thin layer of icing evenly across the stencil. Lightly dust the icing with Flash Dust BEFORE lifting your stencil off the cookie. Allow the stencil scraping to dry for a few minutes before moving on to the next step.
Need help scraping stencils?

STEP 3
It’s time to finish the embellishments. Start by airbrushing your toothpick roses. This step is totally optional. We used maroon airbrush color to slightly darken the center of our roses. This adds some realistic dimension to them and enhances the color.
It’s easiest to airbrush the roses while they’re all still attached to the toothpick rose stencil - this allows you to spray all of them at the same time and keeps them from moving around while you’re trying to airbrush.
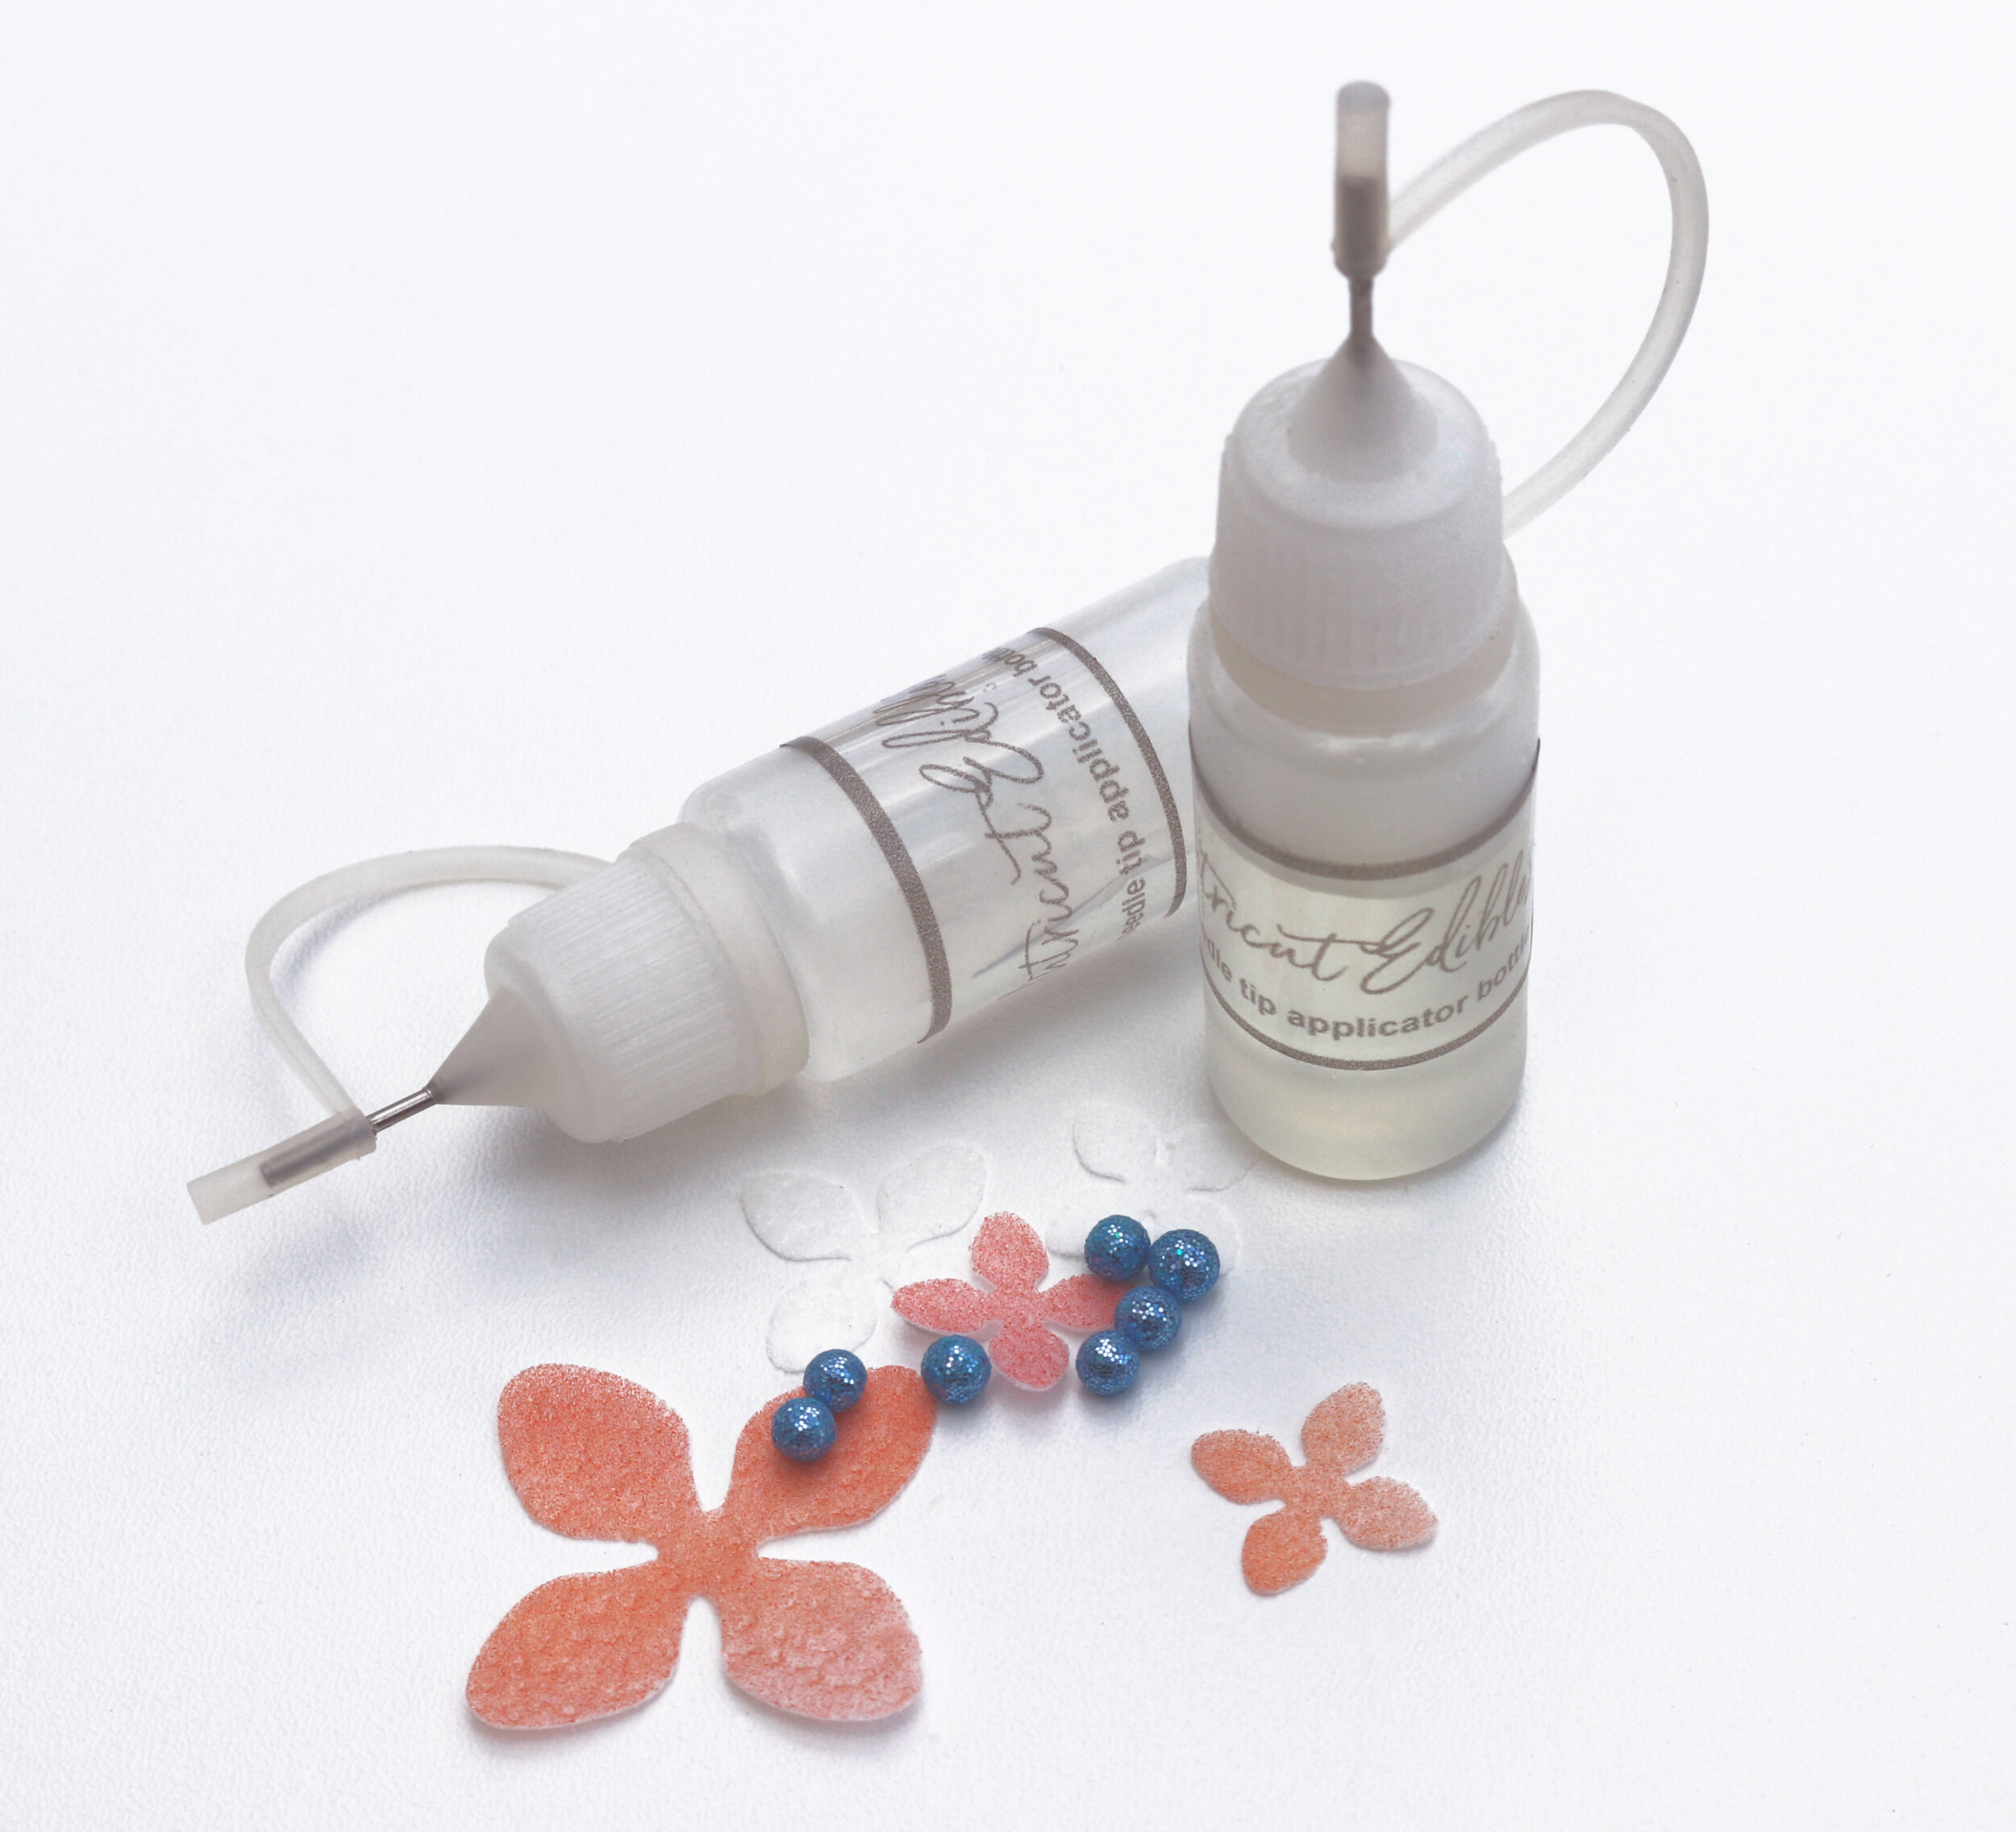
Needle tip applicator bottle
Next, you need to airbrush your wafer paper leaves green (we used forest green). To keep the wafer paper from flying away while you’re airbrushing, we like to spray ours using silkscreen in an embroidery hoop. It keeps them from flying away and it also helps hold them flat so they don’t curl while you’re airbrushing. This technique allows us to airbrush several pieces of the same color at the same time without having to hold each one down - major time savor! If you place a piece of paper towel under your work area, it helps absorb the excess airbrush color so you can spray your details all the way to their edges without making a mess. When you’re done airbrushing, your little details are ready to use. Attach them to your cookies using tweezers for precise placement and small dots of corn syrup as glue with THIS needle tip applicator.
We’re showing these flowers as an example. They’re already airbrushed here so they show up better in the photo. Your wafer paper leaves will still be white. Make sure you face the embroidery hoop so the silkscreen mesh is flat against your wafer paper details so it holds them down.


Spread your wafer paper details out so they don’t overlap and you’re ready to airbrush!
Sometimes the wafer paper cutouts try to curl when they get moisture on them - like airbrush color or edible paint. Sometimes we actually love that this happens (especially with flowers and greenery) because it helps your details stand up off of the cookie and adds natural dimension. If it’s curling more than you want, place it under something heavy and flat right after airbrushing. If you’ve secured your cutouts to a paper towel like we described above, simply lay a sheet of wax paper or parchment over the top of them (after they’re airbrushed) and press them flat with a cookie sheet for a few minutes.
When it’s time to attach the leaves and the roses to your cookie, we use the same needle tip applicator bottle and corn syrup. It makes it so easy to apply small dots of syrup with precision. Attach your leaves first and then allow things to set for a few minutes before trying to attach your toothpick rose.
We prefer to use corn syrup over icing to attach any kind of embellishments to our cookies. It only takes a small amount to secure things in place, it dries clear and it has a stronger hold than frosting when it’s dry. If corn syrup isn’t your thing, you can also use this EDIBLE GLUE.
IMPORTANT NOTE: Do not leave your wafer paper details sitting on the paper towel for any extended time if they are tacked down with edible glue or corn syrup. The glue will start to dry and you wont be able to get your details off of the paper towel. We usually airbrush ours right before we’re ready to start attaching them to the cookies.
When you’re all done decorating, let your cookies sit out overnight so the corn syrup has a chance to completely dry out and secure the embellishments well before you bag them up for your Valentine.

