
WILDFLOWERS

Summer is already starting to fade around here. The days are still long and hot like it’s summer but suddenly the smell of “back to school” is in the air… and that’s how we know. It’s the beginning of the end. A little desperate and a lot dramatic - we know - BUT there are days when there just isn’t enough Diet Coke in the fridge to get you through one of Utah’s winters.
If you’ve never experienced it, you’re truly missing out (we can’t even type this with a straight face) the freezing cold, snow, inversion and winter darkness are truly something to behold. We spend 9 months of the year dreaming of the 3 short months of summer which makes summer seem to come SO slowly and then slip away before you even knew it was here. We had snow in the mountains well into July this year, people! ….JULY!! We were ROBBED!
Four short weeks later, it’s already August and the stores have their Christmas decor out….GAME. OVER.
Utah has a lovely spring and fall season too but they’re just not dependable. Some years, you don’t have time to enjoy either of them because they literally last like ONE day. Other years, the snow sticks around much longer than it should or shows up uninvited and you don’t see spring or fall at all. You really need to see the fall colors in Utah at least once in your life. They really are beautiful - honestly. No sarcasm this time.
Since winter stepped WAY out of bounds this year, we’re really hoping fall is going to make it up to us and hang around for an EXTENDED amount of time. Hey, we are even willing to reach out and meet fall half way here and post a fall cookie tutorial.
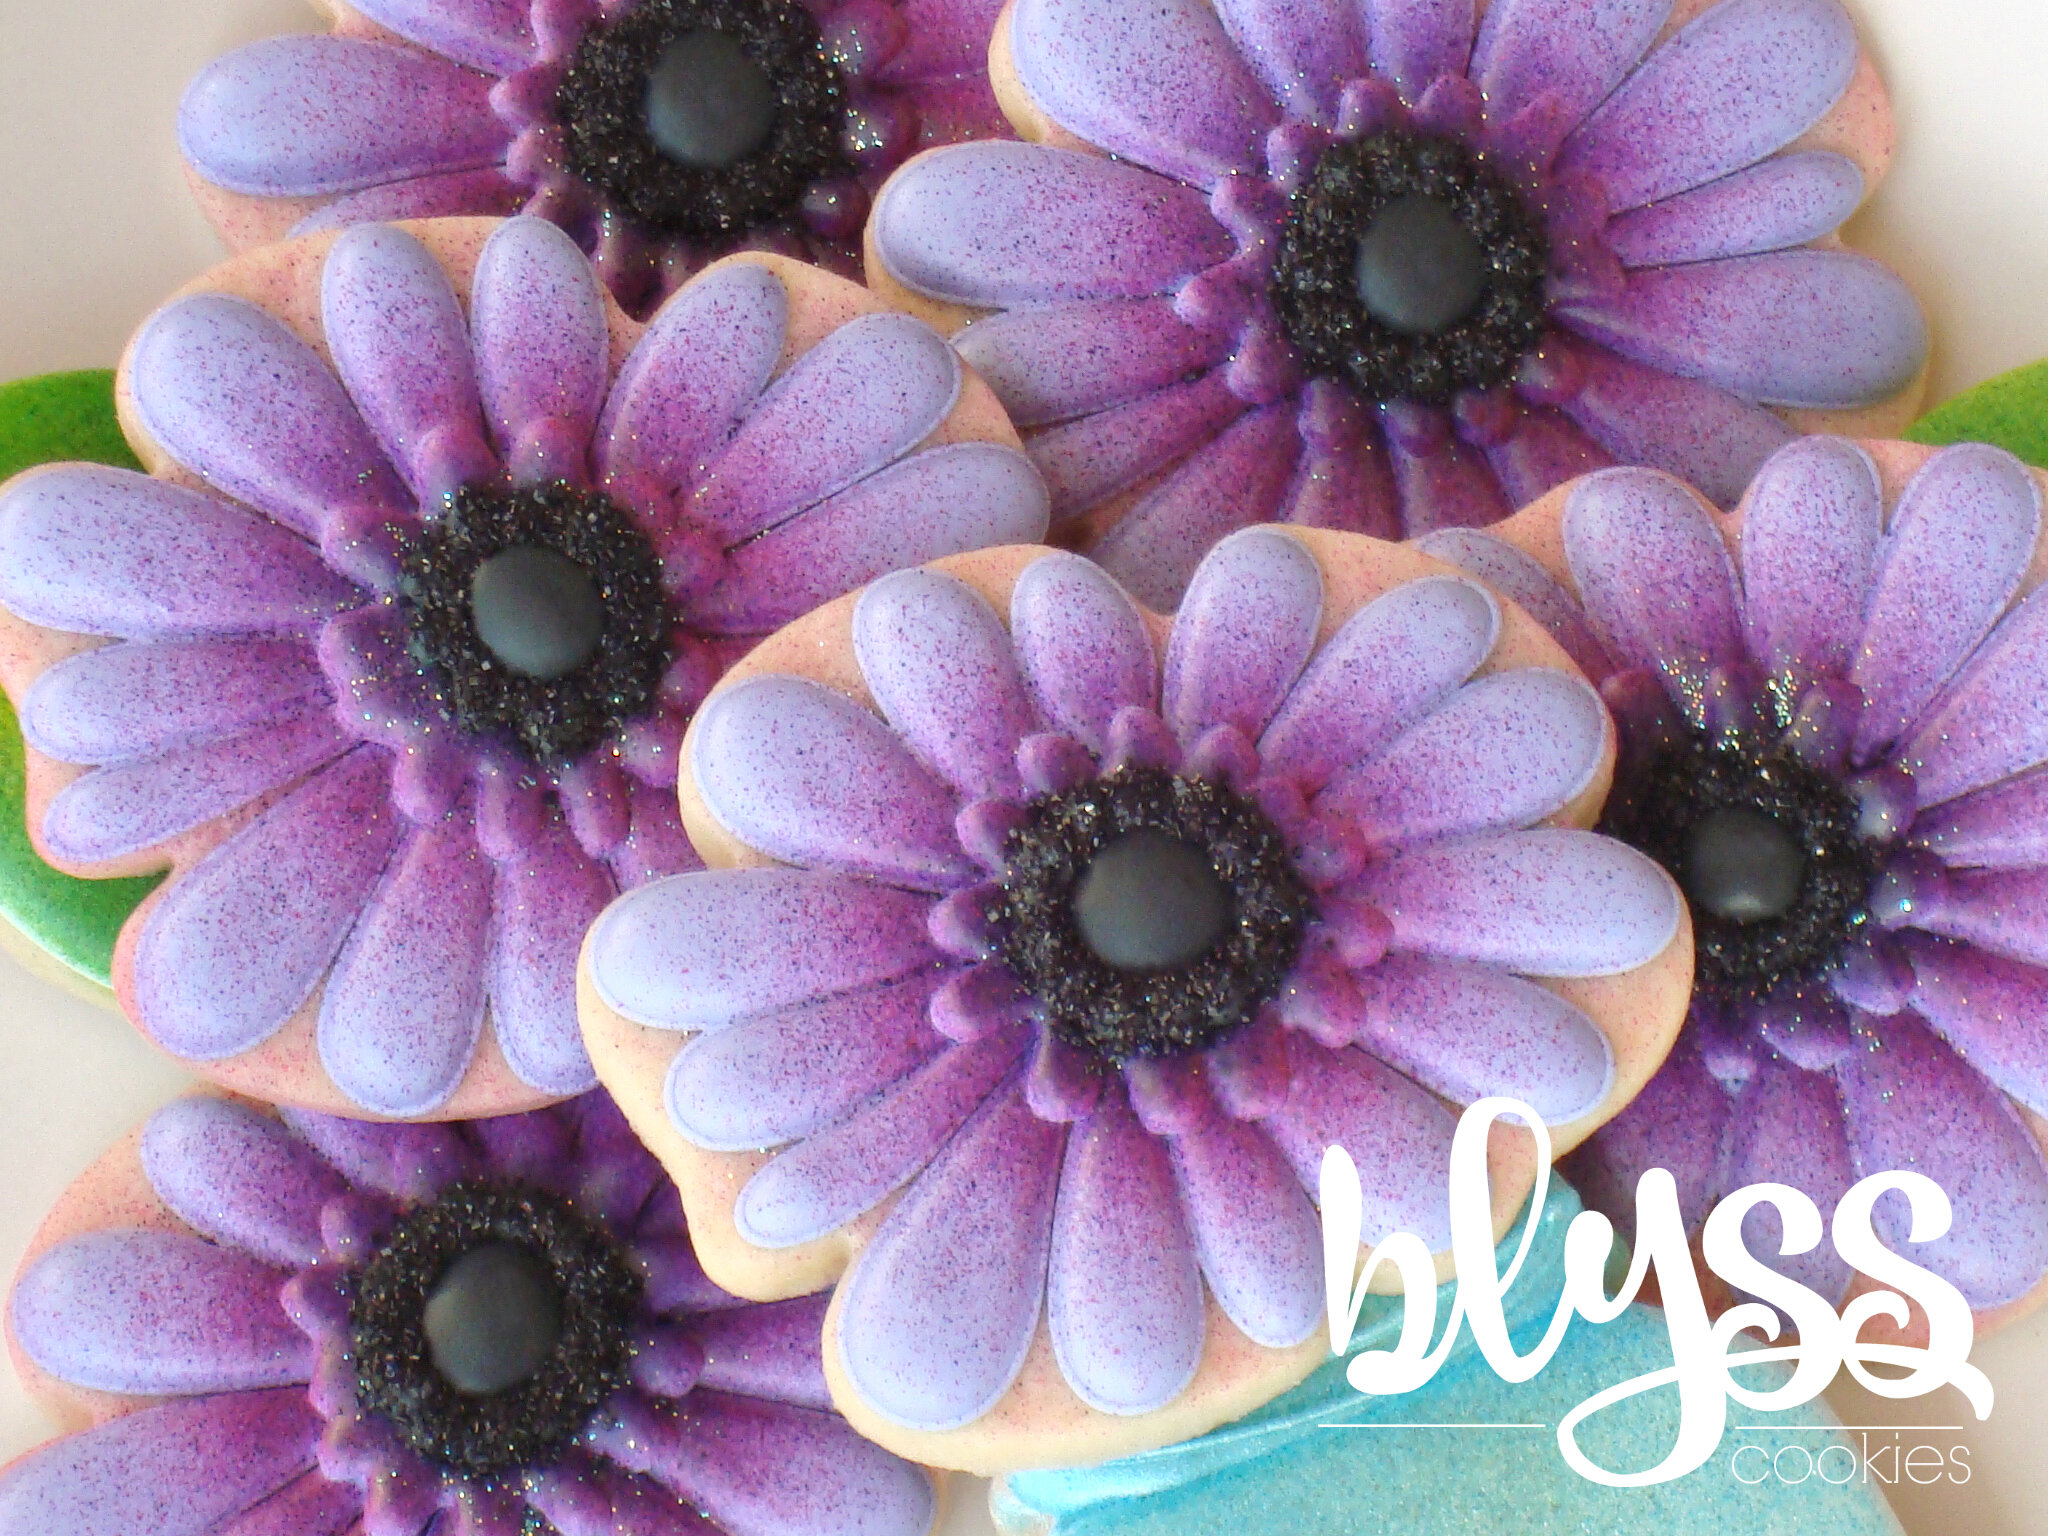
This is how all of our favorite designs begin - simple - minimal icing colors with a touch of airbrushing. While we’re just going to show you the steps for the flowers, we’ve provided color details and supplies below to include the jar and leaves.

Icing Colors
light yellow piping and flood icing
black 25 second icing (this is like a THICK flood consistency)
white piping and flood icing
avocado green piping and flood icing
YOU CAN FIND OUR FAVORITE GEL COLORS HERE

Supplies
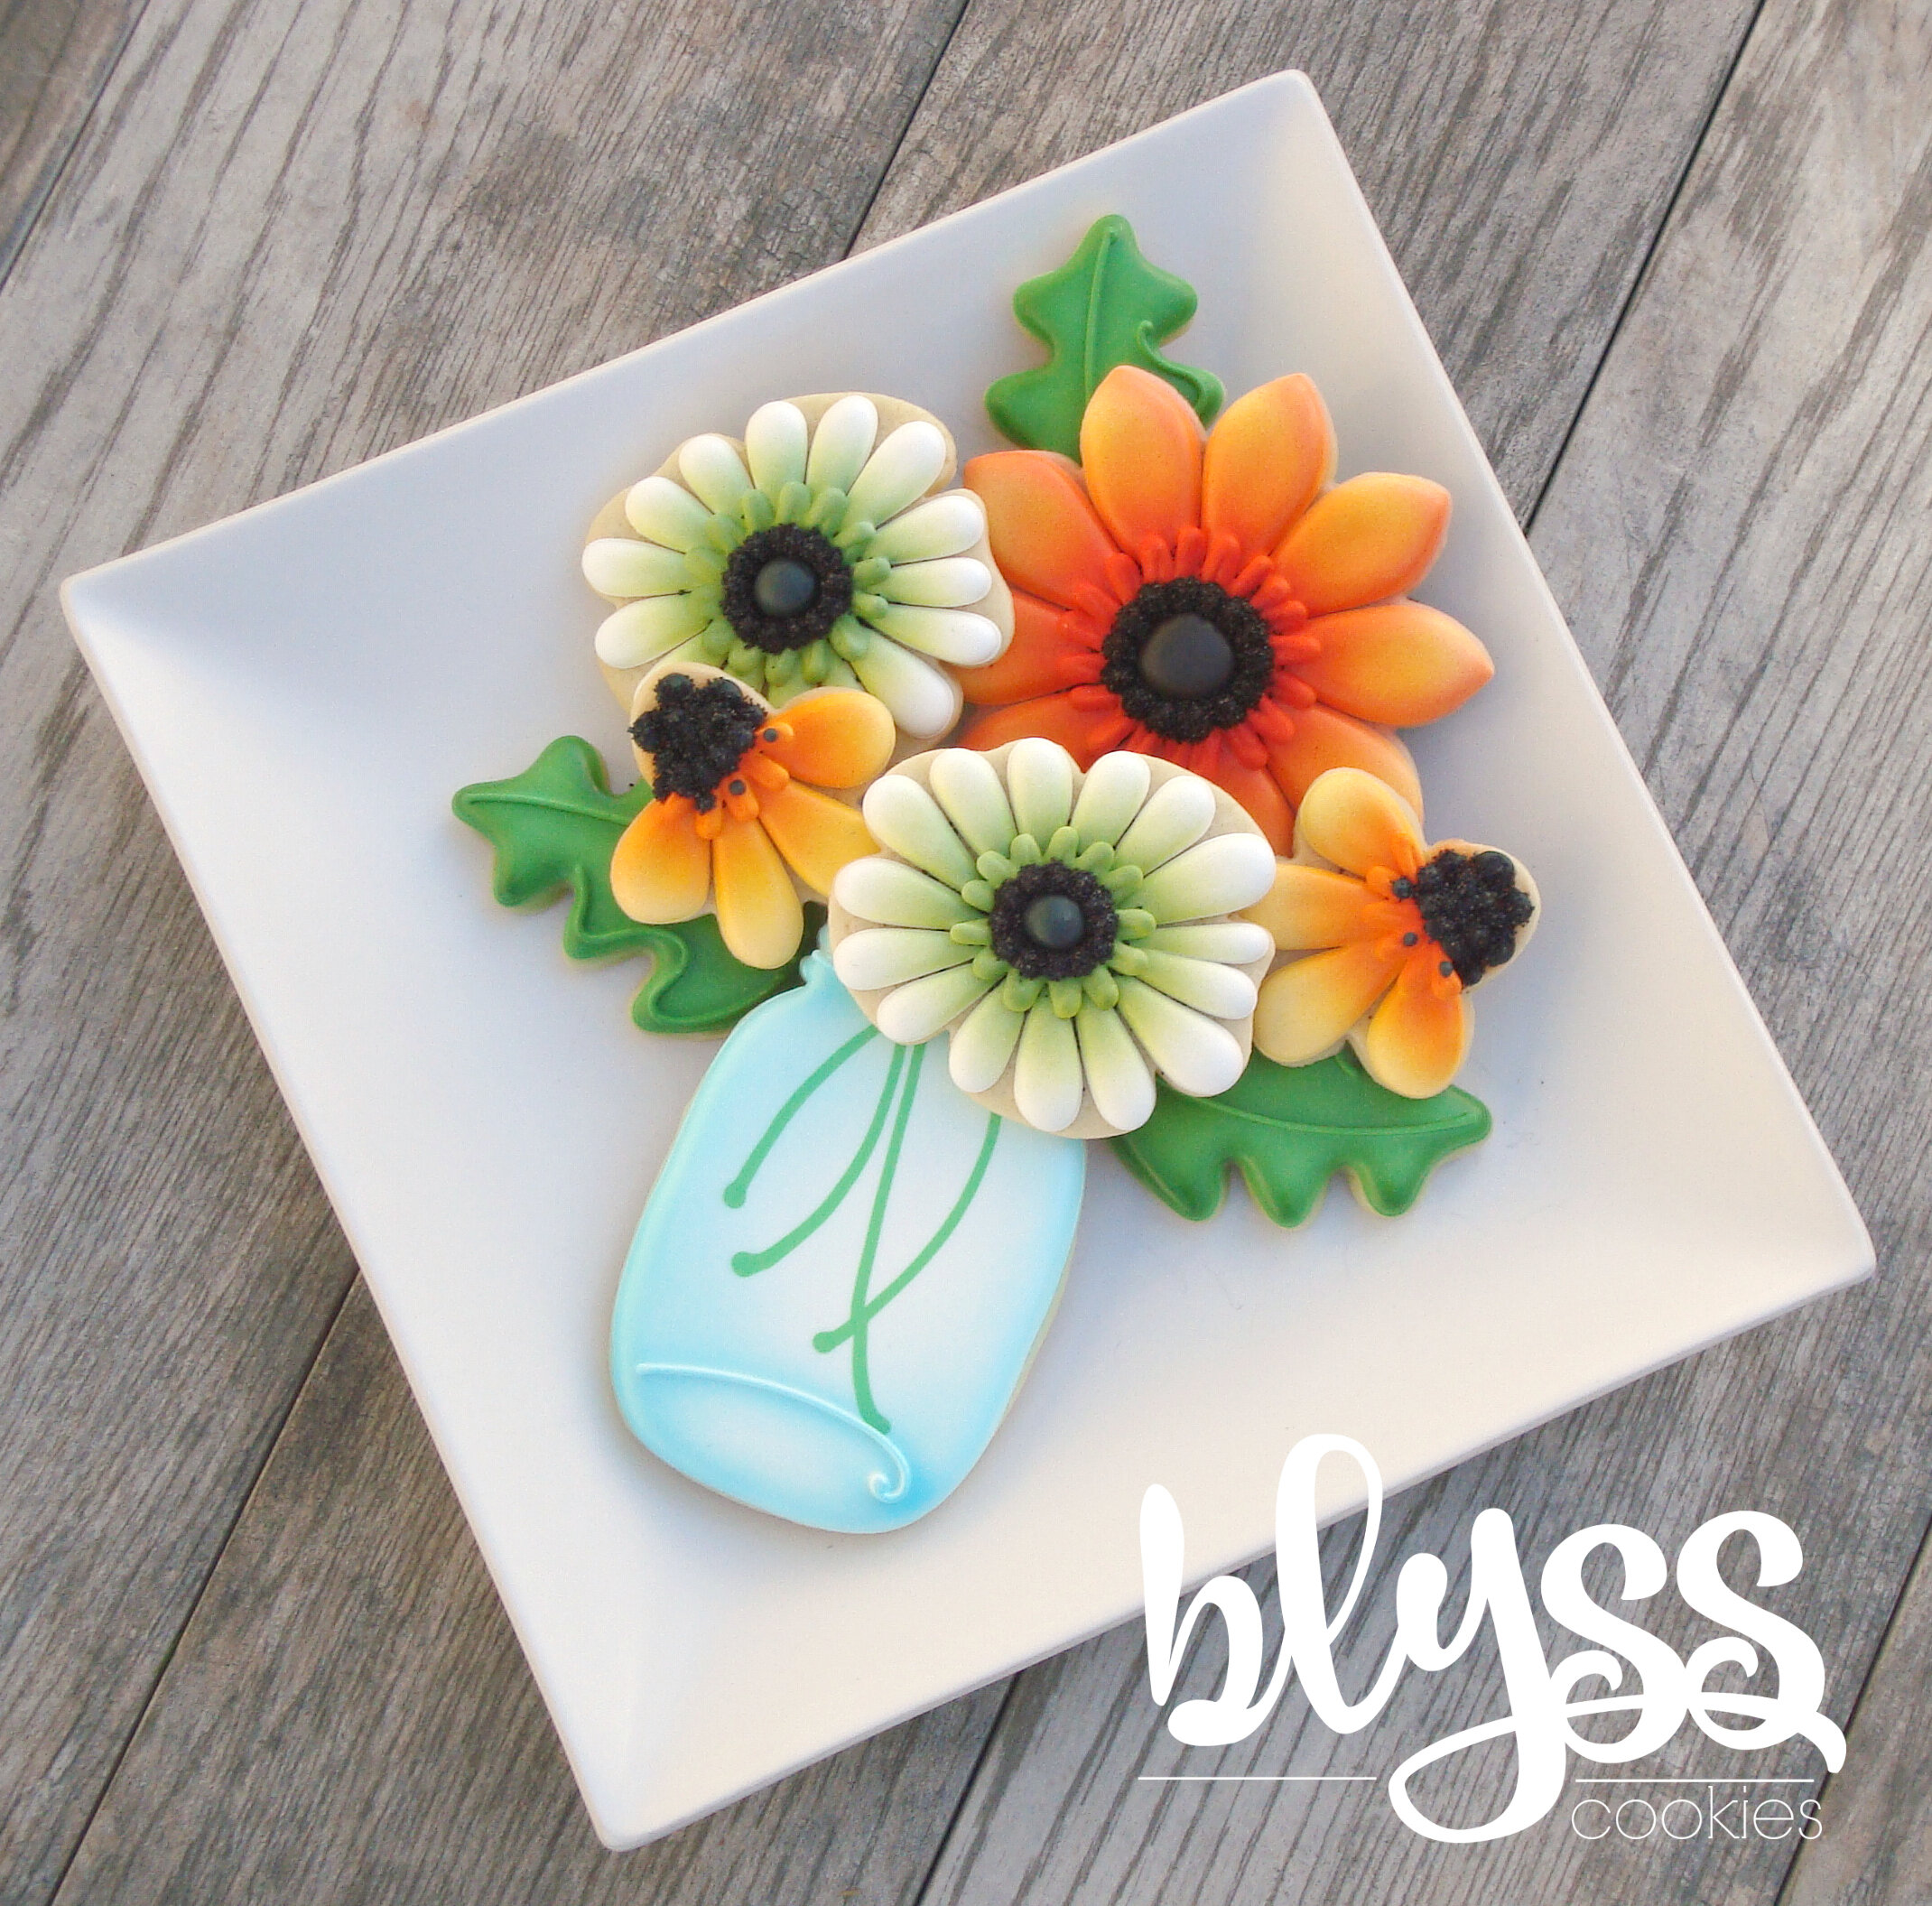
flower cutter - you really can be flexible here. You can make this design work on almost any flower cutter and it’s fun to add variety to this bouquet of wildflowers. We re-purposed a SAND DOLLAR CUTTER for this tutorial.
jar or vase cutter
leaf cutter - again, you can use a variety of different shapes and sizes and they will all work great! We re-purposed a cheap plastic acorn cookie cutter we had to make our leaves. Here are a couple of other great options. We love the look of leaf cutter that comes with our DANDELION CUTTER SET or this LEAF CUTTER with the detailed edging.
airbrush - you can read all about our favorite airbrush HERE
airbrush color in green, yellow, orange, blue metallic/sheen and green metallic/sheen - you can see our favorite airbrush colors HERE
ICING BOTTLES (these are optional but definitely our preference for some of the steps)
Once your cookies are baked and cooled, you’re ready to decorate!

STEP 1
Mark the center of your cookies by making a small pin hole with your boo boo stick
STEP 2
Using your yellow piping icing, draw out your petals. Keep an eye on the center mark you made as you work around your cookies. You want to leave the center open just a bit - about the size of a dime - so the centers we are adding to the flowers in a later step will have a flat surface under them. We tried to evenly space our petals in the different sections of the sand dollar cutter we used.
STEP 3
Finish outlining the petals on all of your cookies

STEP 4
Flood in the petals using your yellow flood icing and then allow the cookies to dry - we like to use a HEATER FAN to speed up drying time so we can keep decorating. If you’re using a fan, set the heat to medium/low and let the cookies dry for about 20-30 minutes. If you’re air drying, you need to wait about 45 minutes to an hour before moving on to the next step.
STEP 5
Use your airbrush and yellow airbrush color to shade the centers of the petals. You want the color to have a smooth even taper to it. Darkest in the middle of the cookie and lighter out to the edges.
STEP 6
Using your light yellow flood icing (in a bottle) with a PME #3 tip attached, add the fringe around the open center of the petals. THERE IS NO OUTLINING for this step - just use the flood icing and the tip of the bottle to pipe the icing in a scalloped pattern. Once you’re cookies are all done to this point, you’ll want to let them dry in front of the fan again for 20 minutes (air dry about 40 minutes).

STEP 7
Use your airbrush and orange airbrush color to spray directly into the side of the fringe you added in step 6. You want the color to get into all of the nooks and crannies but try not to apply a heavy coat of color or it will never dry. You want the orange color to stay closest to the center of the cookie and slowly fade into the yellow airbrush color you added earlier.
STEP 8
Spray the same orange color on the top surface of the fringe.
STEP 9
Sprinkle your Flash Dust onto the orange airbrush color while it’s still wet to help the glitter stick to the cookie.

STEP 10
Use your THICK black flood icing in a bottle fitted with a PME 1.5 tip to pipe dots in a circle on the top surface of the fringe. Size the black dots so they “weld” together as shown.
STEP 11
While the black icing is still wet, lightly sprinkle with black sanding sugar. We like to pipe the black circle on 2-3 cookies first and then go back and sprinkle the sanding sugar. Letting the icing set for just a few minutes helps keep the sugar from sinking down in the icing. Let the cookies dry for about 10 minutes before moving on.
STEP 12
Fill the open centers with more of the thick black flood icing until it pillows up nice and round. Your cookies are all covered with black sugar and things are messy. It’s OK. Let everything dry really well before you try to clean anything up. When the cookies are dry, you can use your dusting brush to clean the excess sugar off the cookies.
If you’re making the jar and leaves to go along with these, we’ve outline the basic steps for those below.
JAR
outline and flood the cookie with white icing, allow to dry
pipe the details on top of jar as desired
airbrush and shade the jar using the blue metallic airbrush color - we also added tiny bits of green metallic color here and there
LEAVES
outline and flood the leaves with avocado green icing, allow to dry
pipe the details (veins) on top of the leaves as desired
airbrush the leaves with the green, yellow and a tiny bit of orange - try to blend and overlap the colors evenly
We’d love to see and share the fall wildflowers you create!